
Ladies watch out, there's a new skin care tool in town! Perhaps you've already seen your favorite stars, influencers, and YouTubers use these famous Gua Sha tools in their skin care routines. But if you are looking to know more about the Gua Sha trend, before hopping onto it, perhaps you have come to the right place!
WHAT IS A GUA SHA?
A Gua Sha is a flat tool made of semi-precious stone that is used to massage the face. Although the gua sha facial tool has gone mainstream lately, it's a lot older than you might think. This modern facial scraping technique is based on a traditional Chinese healing practice known as Gua sha, or 刮痧, directly translates to “scratch” and “sand” (here, the sand refers to the raised redness on the skin instead of actual sand). “‘Sha’ is caused by the bacteria or virus toxins, which break the capillaries and form hyperemia areas, or spots in the skin or mucus, and form sand-like scattered or condensed areas,Gua means to stroke or press, and Sha refers to redness. According to ancient practitioners, the redness you get from scratching stimulates the skin to heal itself. Although the modern Gua Sha practice is less intense, it nonetheless leaves a well-sculpted face along with other remarkable results!
- Lymphatic drainage
Slow lymphatic system can cause skin swelling, swelling, fatigue, acne and other skin problems. Since lymphatic circulation can only be achieved through muscle exercise or massage, scraping Gua Sha is the best way to increase it.
- Fighting Cystic Acne
A common misconception is that Gua Sha should not be used to treat acne. Gua Sha tools help reduce acne, redness and reduce it size, while removing blockages and improving blood circulation. Just bear in mind to ne'er use a Gua Sha on broken skin and pustules.
- Fights Acen Scars
Gua Sha brings fresh blood to the surface of the skin, which renews the skin cells, thus reducing the visibility of acne scars.
- Reduces puffiness
Since the Gua Sha eliminates lymph and different fluids out of your face, your pores and skin tightens and turns into greater chiseled.
- Softens fine lines and wrinkles
Gua Sha relaxes stiff muscles and facial tissues, smoothing out the signs of aging.
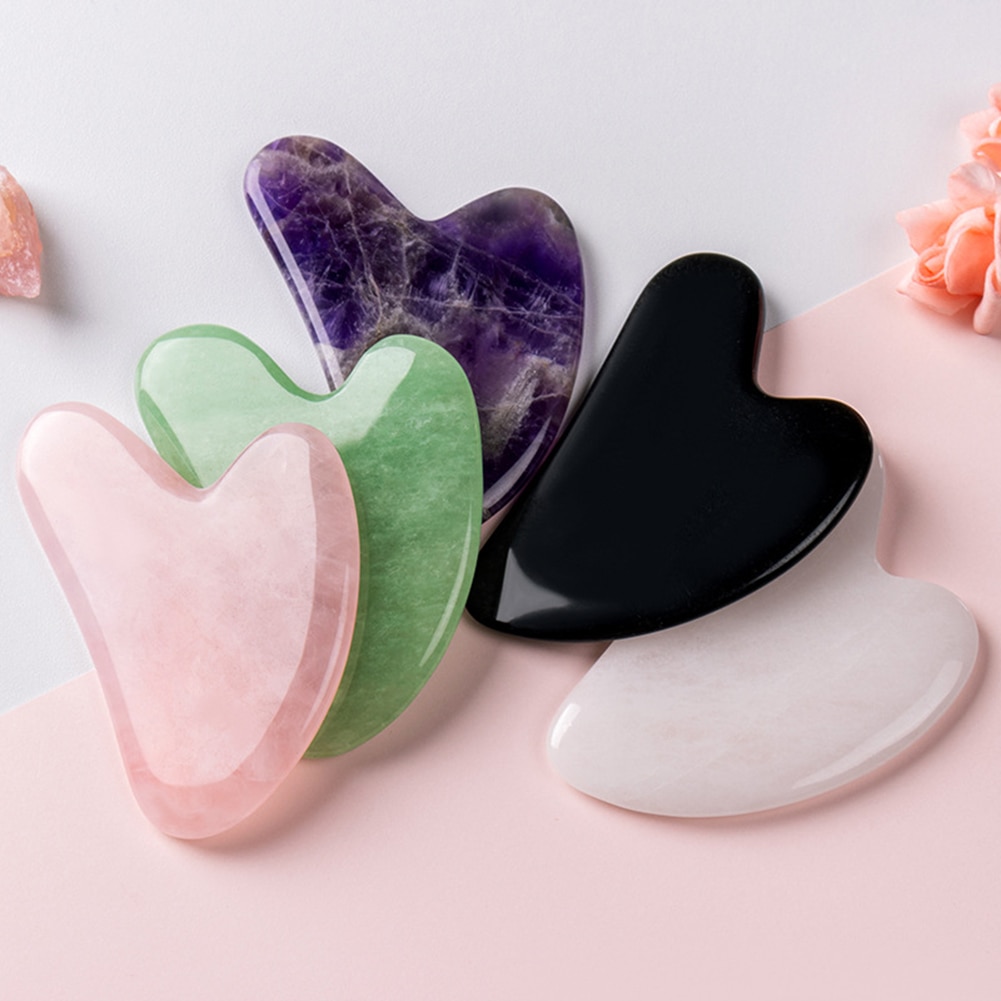
HOW TO FIND YOUR GUA SHA?
Gua Sha has different shapes and materials, and each has its own advantages. We have compiled a list of common shapes and materials, as well as their advantages and uses, to help you find the perfect Gu Sha.
BASED ON MATERIALS:
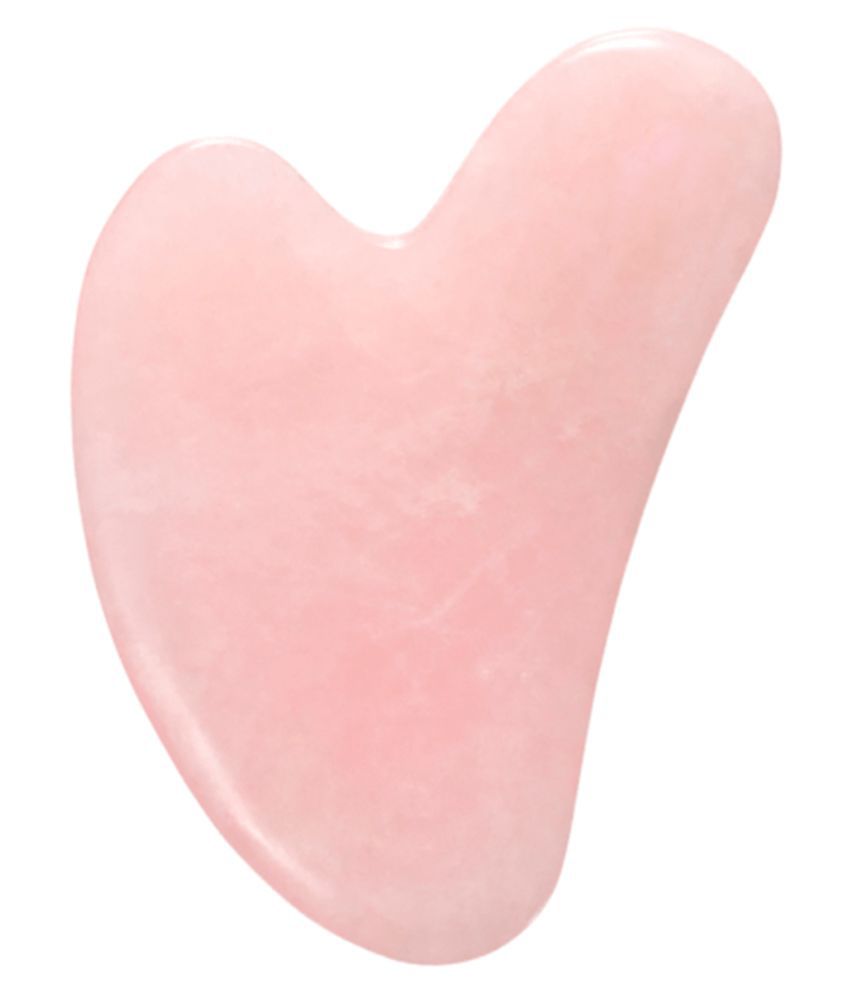
- ROSE QUARTZ
This pretty shade of pink is associated with emotions, compassion, and love. It is the best suited for smoothing out fine lines and wrinkles and getting rid of toxins and negativity that is present in the body.
- BLACK OBSIDIAN
This material has the most powerful elements of fire, water, and earth which clears negative thoughts and emotions that may reside in the body. It leaves the skin feeling rejuvenated. It is also responsible for repairing and strengthening muscle tissues over time.

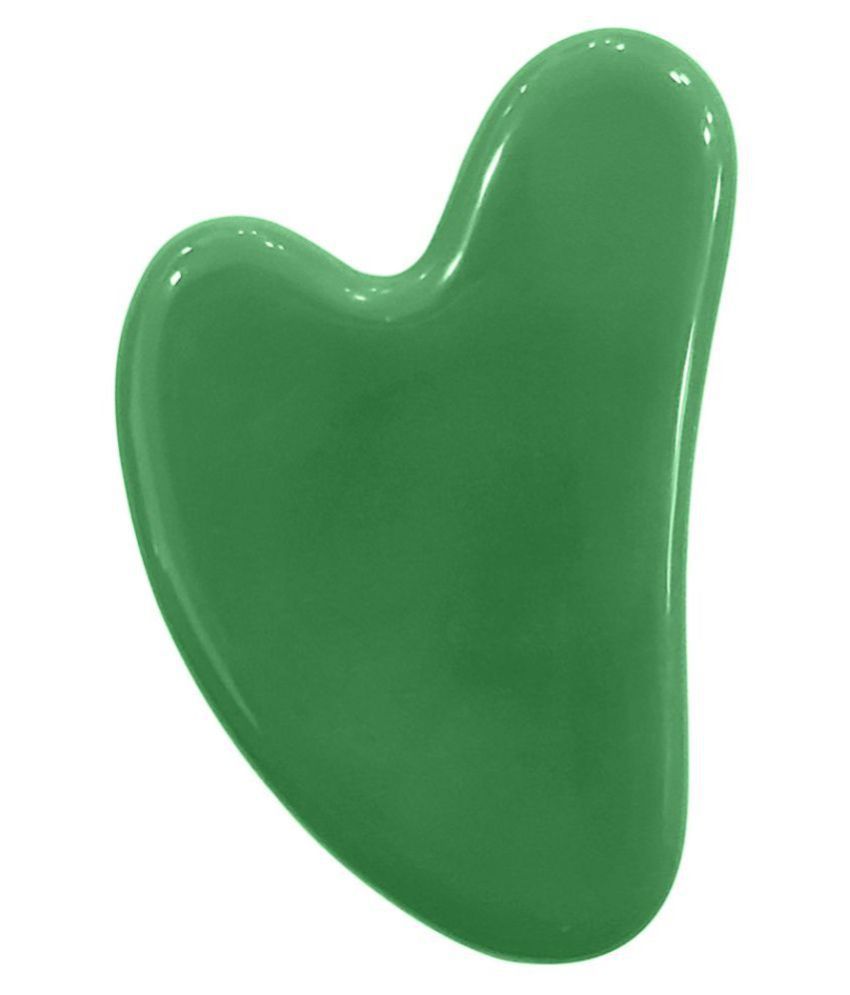
- JADE
This crystal brings the existing imbalances to rest. It reduces puffiness and promotes lymphatic drainage.
- AMETHYST
Thanks to its negative charge, it gets rid of negativity and stress by producing negative ions. It helps to cool down the skin and tightens pores.

BASED ON SHAPES:
-
Concave Side- The concave side of a Gua Sha is the most ideal to use on wider areas of your body. It sculps the neck, shoulder, and spine.
-
Double Curved Side- If your Gua Sha has this shape it promotes blood circulation under the eyes, cheeks, and cheekbones.
-
Cleft- Since the cleft or the divot is smaller, it is best used specifically for the jaw.
-
Teeth Edge - Gua Shas that have this type of edge stimulates fine lines and wrinkles. It is used from the chin to the cheeks, temples, and forehead.
- Pointed Convex Edge- This part of the Gua Sha is most beneficial to scoop the brows.

SHAPE BASED:
- Concave Side- The concave side of a gua sha is ideal for larger areas of the It sculps the neck, shoulder, and spine.
- Double Curved Side- When your Gua Sha has this shape, it promotes blood flow under the eyes, cheeks and cheekbones.
- Cleft - Since the cleft or the divot is smaller, it is best used specifically for the jaw.
Tooth edge- Gua Shas with this edge shape stimulate fine lines and wrinkles. It is used from the chin to the cheeks, temples and forehead. - Pointed Convex Edge- This part of the gua sha is most beneficial for lifting the
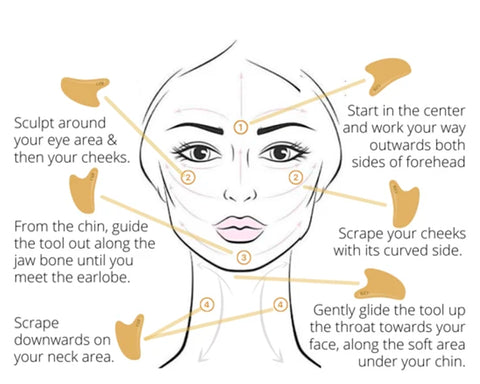
HOW TO USE YOUR GUA SHA?
- Before you start, wash your Gua Sha tool with water and soap to ensure that it is clean. If you want you can even leave it in the refrigerator for a few hours for an additional cool and soothing effect on your skin.
-
Cleanse your face and apply any serum, face oil or moisturiser of your choice. Your skin should be slippery with some product to prevent the Gua Sha from causing any irritation.
-
Hold your tool firmly in the correct way. The curved part should hug the curves of your skin and the flat part should rest on your skin.
-
Begin by using the wider concave side of your tool. Start at the base of one of the sides of your well-moisturized neck, pulling it up, towards your jaw. Repeat this a few times and do the same on the other side of your neck. Then move to the front of your neck, making the same upward movement. Do not put too much pressure here, otherwise you will start choking and coughing.
-
Next, with the smaller cleft or divot in your Gua Sha, start scraping from the center of your chin. Scrape it along your jawline, going towards the bottom of your ears. Repeat this a few times and follow the same movement on the other side.
-
Take the flatter curve of your tool and scrape from the center of your face to massage the cheeks. You will have to do this in a couple of horizontal lines to cover the area.
-
Then, use the small rounded end of your tool to massage the area under your eyes, pulling it towards your temples.
-
Place your tool against your forehead in a way that the largest curve is just above and gently pull it up towards your hairline.
-
Finally, once you are done massaging all the areas of your face, finish your skincare routine, if need be.
Watch the video below on how to use Gua Sha tool here.